Step-by-Step Guide to Set Up a Palworld Server on Steam in One Minute
-
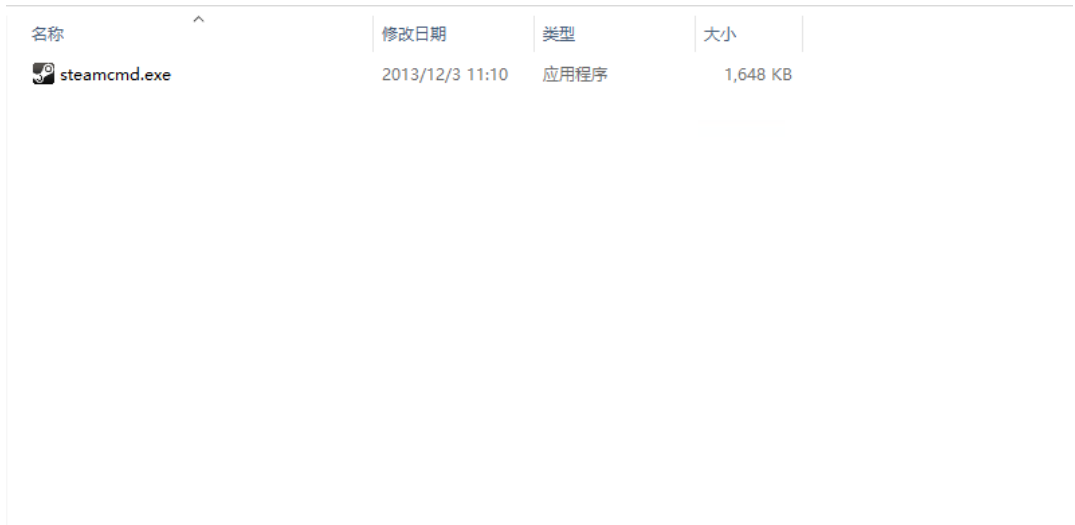
1.Download the necessary tool, Steamcmd.
Download link: https://url73.ctfile.com/f/2813173-1013786006-df856d?p=4941 (password: 4941)
-
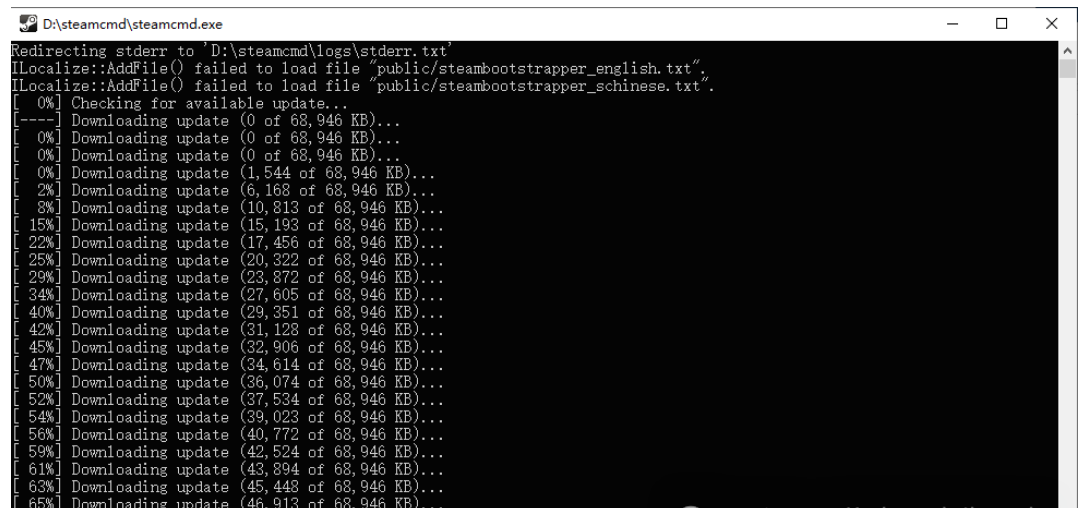
2.Extract Steamcmd and start the program to download the required files.
See the image below:
Start the download as shown in the image:
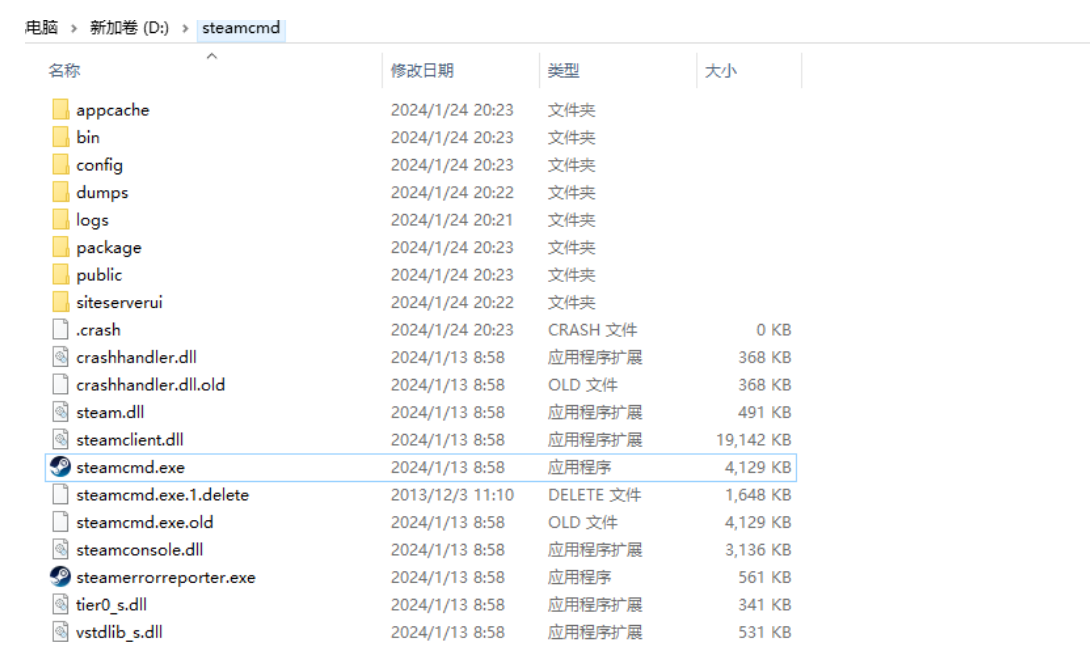
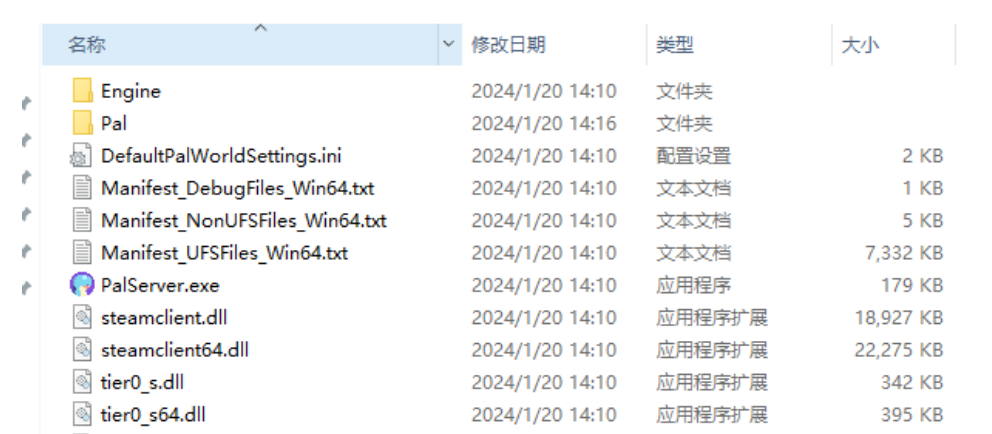
After the download is complete, additional files will be generated, as shown in the image. The downloaded files will be in the location where you opened the program.
-
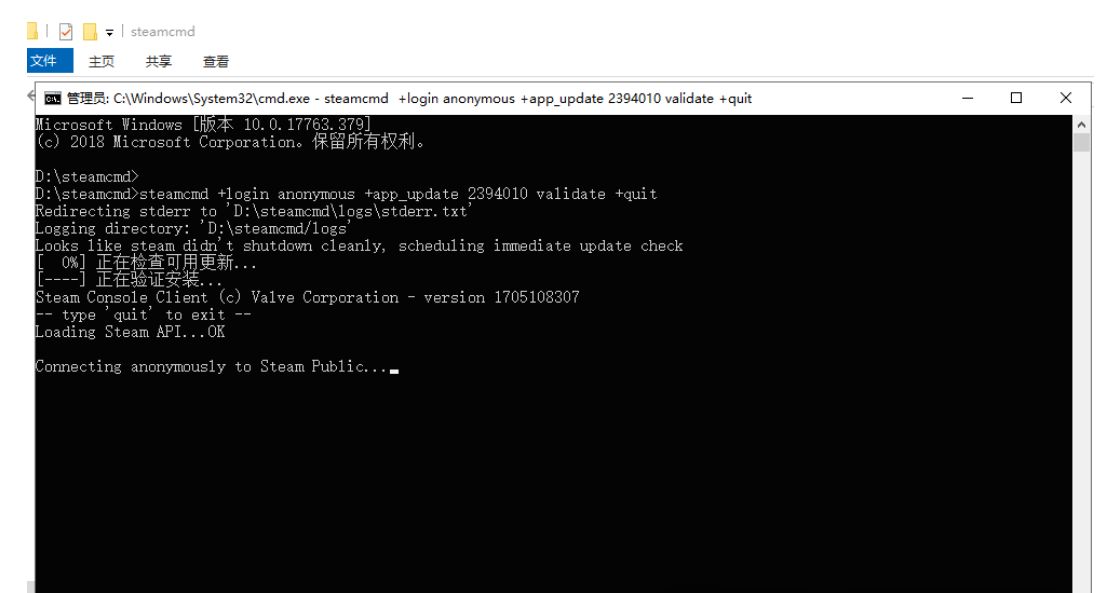
3.Download the Palworld server using Steamcmd.
Open the command prompt (cmd) in this folder.

After opening, enter the following command to download the palworld server:
Copy code
            steamcmd +login anonymous +app_update 2394010 validate +quit
After the download is complete, follow the steps in the images.
Once done:
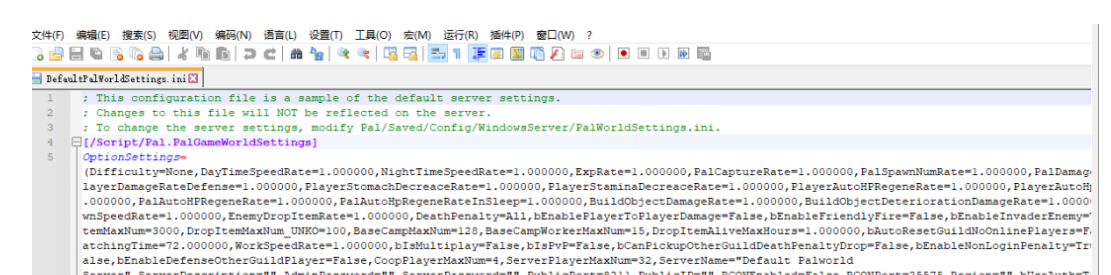
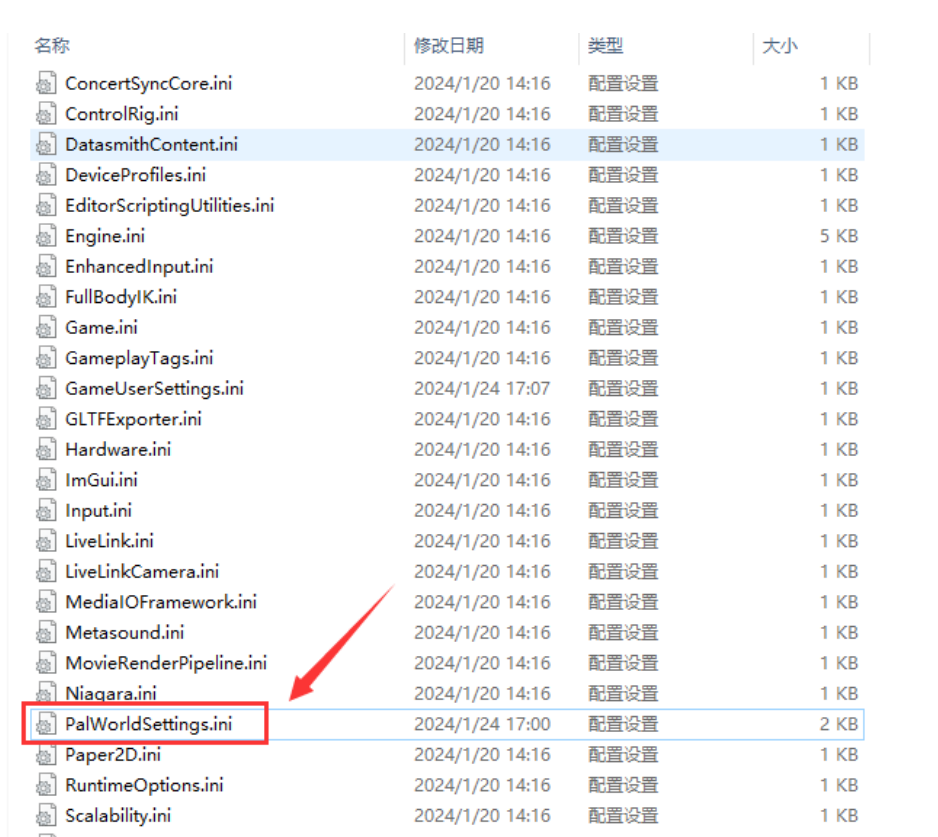
open the "DefaultPalWorldSettings.ini" file, select all (Ctrl+A), copy all the content, and paste it into the "PalWorldSettings.ini" file in the "D:steamcmd\steamapps\Pal\Saved\Config\WindowsServer" directory.
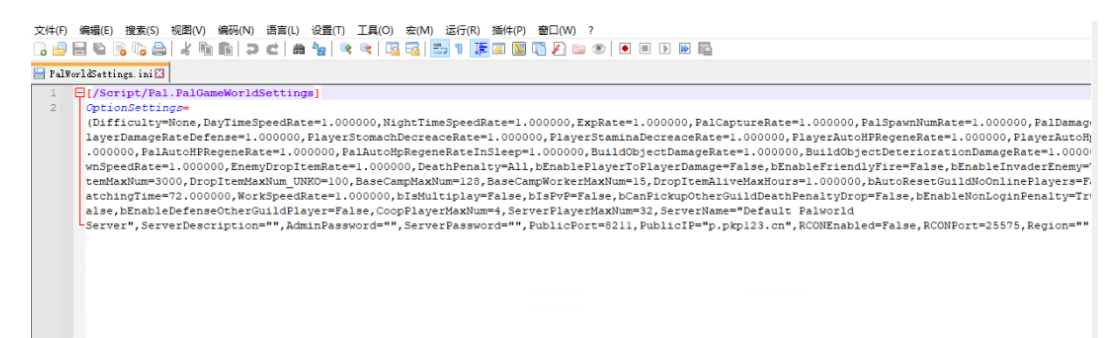
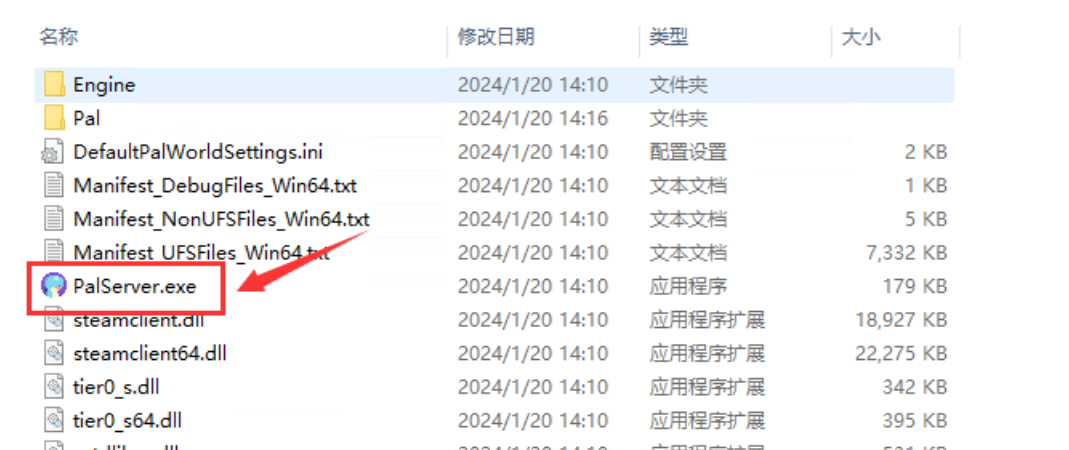
After completing these steps, save the changes. Next, go back to the server root directory and find "PalServer.exe," double-click to open and run the game.
If the display is as shown below, it means the startup was successful.
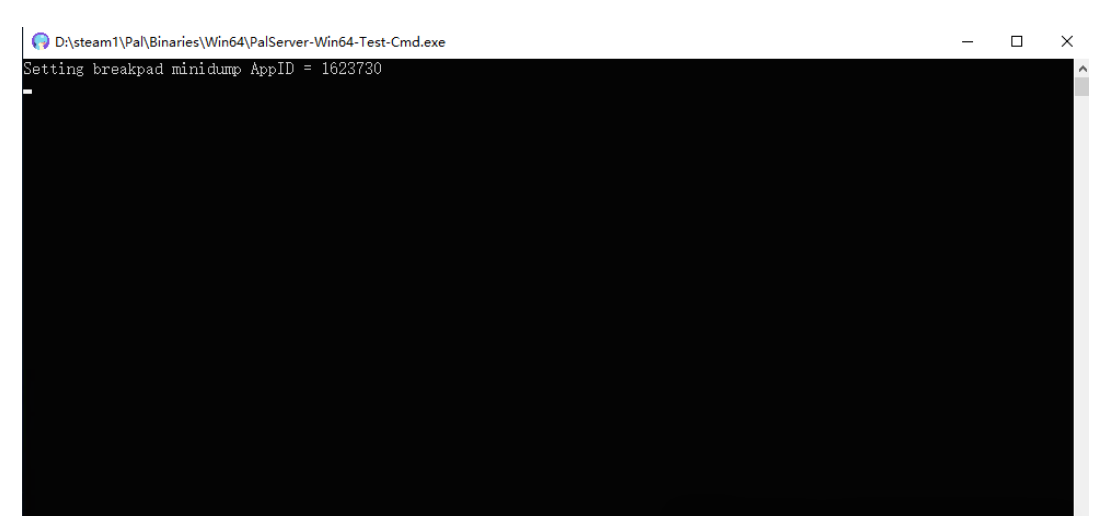
With this, the basic setup is considered complete. Next is testing the game.
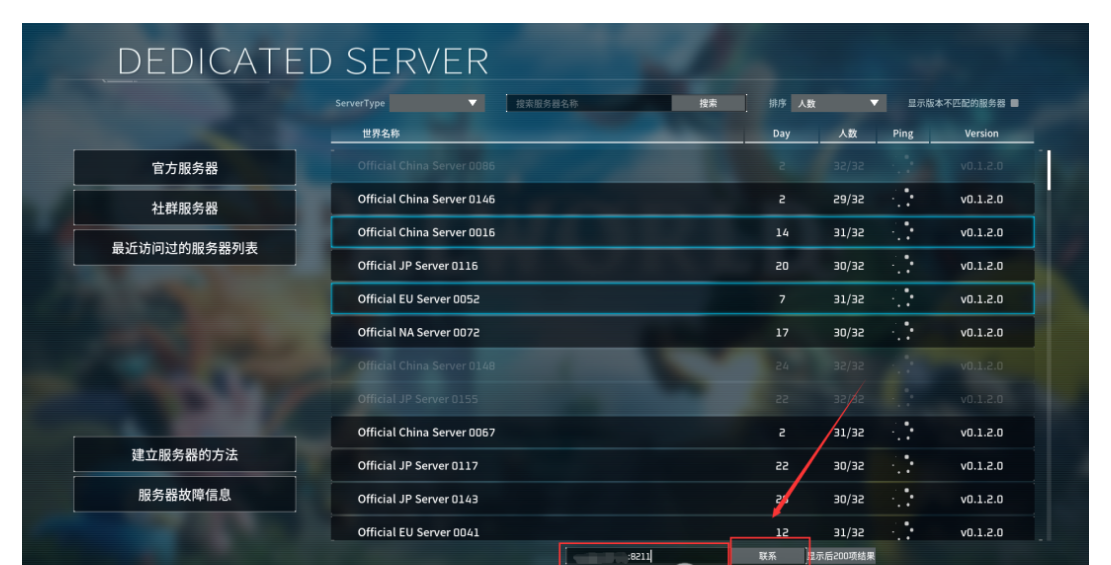
Game Testing
Open Steam, launch the game, enter your server IP + port (8211), and click connect to enter the game.
Note: If it's a local LAN setup, enter "127.0.0.1:8211." For a server setup, enter your server IP + port or the resolved domain name + port.
The difference is that a local LAN setup currently only supports single-player, while a server setup supports multiplayer.
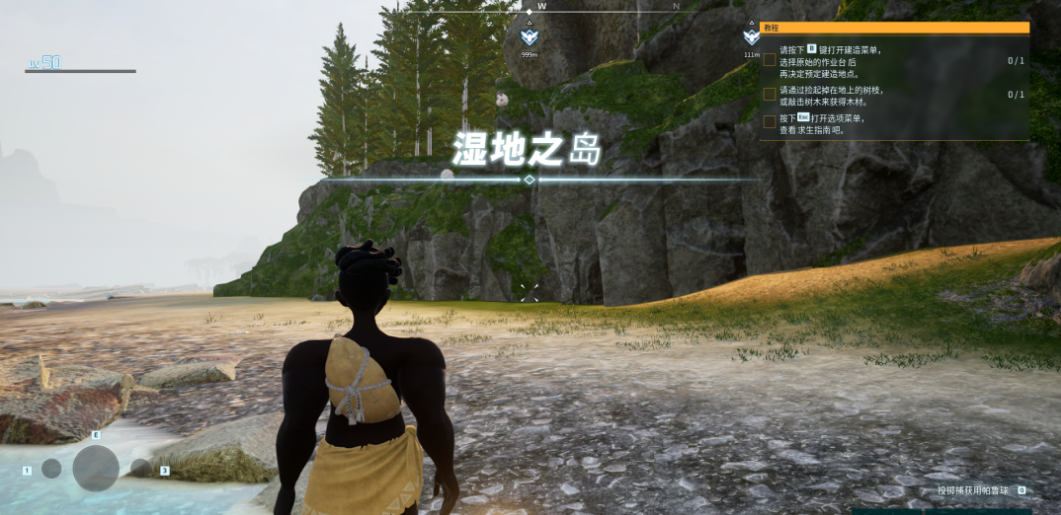
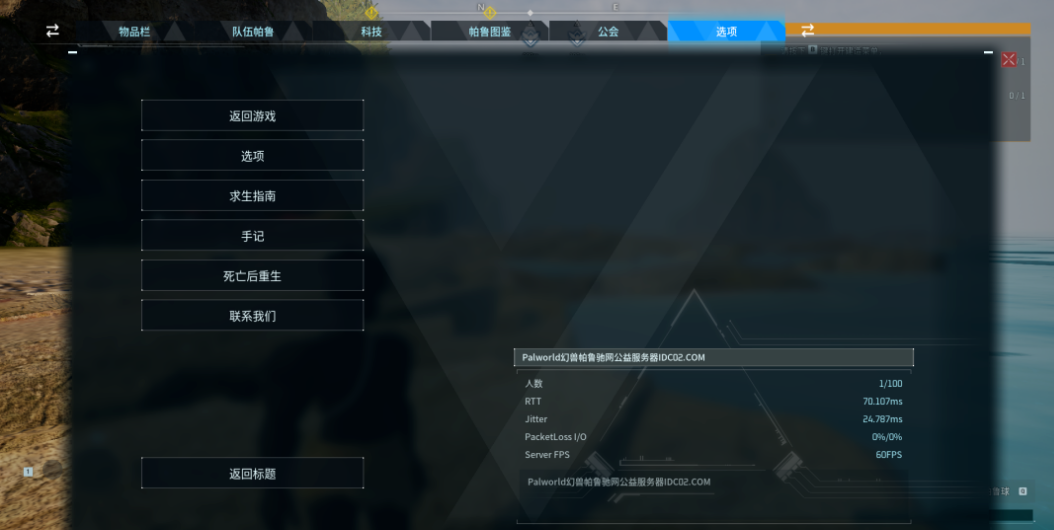
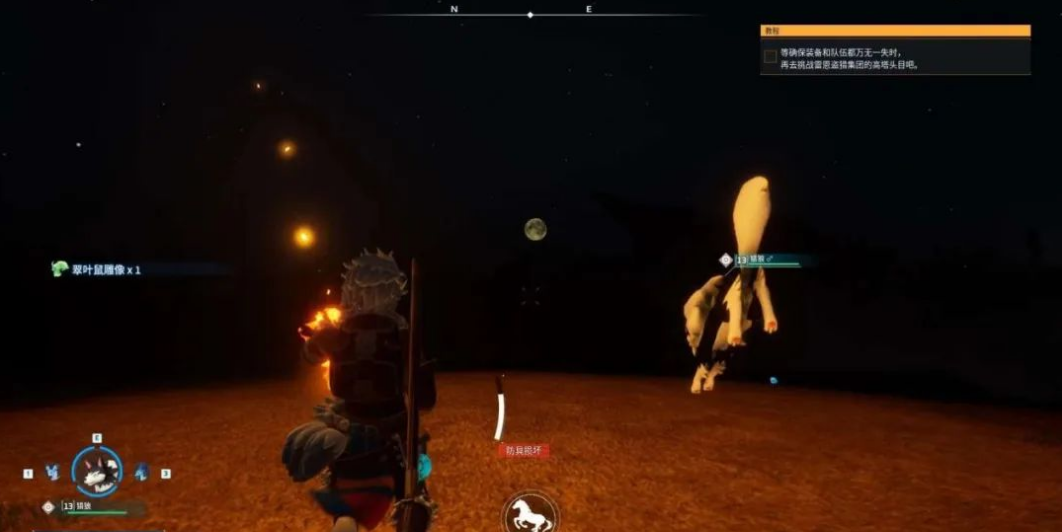
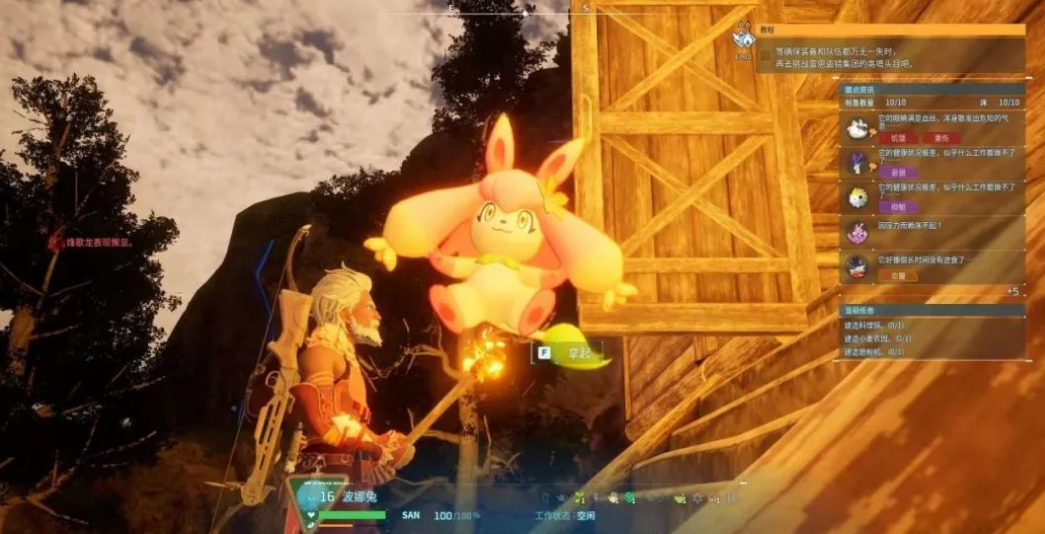
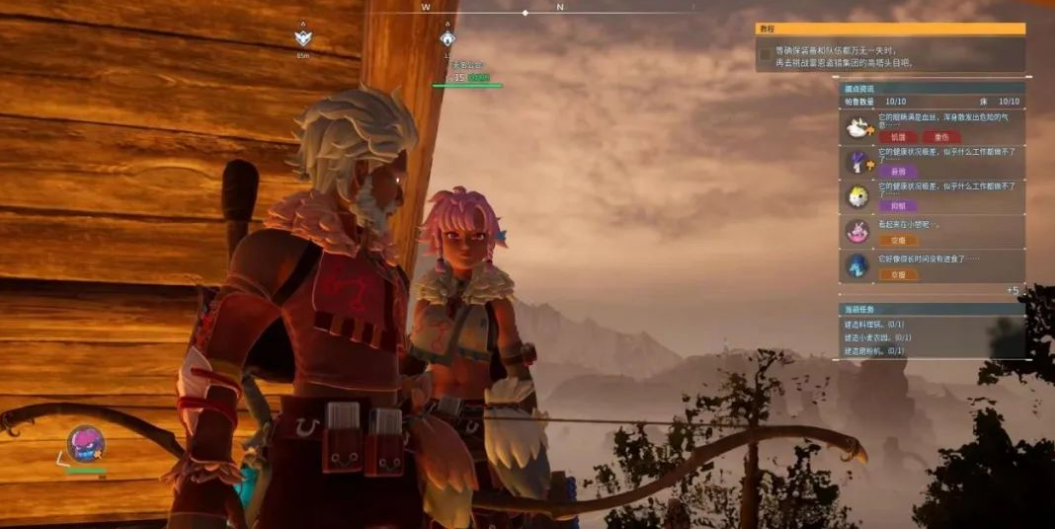
Game Testing Screenshots

Summary:
The game has relatively high requirements for server setup, including specific network protocols. It cannot block UDP, supports multiple instances, and can be resource-intensive with prolonged gameplay and a high number of concurrent players. For those interested in server setup, it's advisable to choose configurations based on the number of servers and players, or consider purchasing services from the author.
FAQ:
- Q: Can the setup only use port 8211?
- A: Currently, with the official server, port 8211 is fixed as the game port. However, using other ports is possible with certain technical modifications, allowing a server to host multiple instances.
- Q: After successfully setting up on my computer, I can enter, but friends cannot.
- A: Home networks generally lack public IP. To allow friends to join your locally hosted server, you need to apply for a public IP and open the required port. It's recommended to buy a server for convenience.
- Q: After setting up the server on a dedicated server, I can't connect.
- A: Some servers may have all ports closed by default. You need to go to the server firewall settings and open the UDP port 8211 for in/out traffic. If the server protocol blocks UDP, you might need to try a different server.
- Q: After starting the server program, there is no response, black screen, and no text as shown in the tutorial.
- A: Ignore this; it's normal. As long as the program is open, it indicates a successful launch. Simply test the game to confirm.
- Q: When starting the server program, it prompts for missing DX components.
- A: Download the DX components here and install them. Try restarting after installation.